Fitting lowered suspension
There are loads of different types of suspension available. You could just fit lowering springs, uprated springs and dampers or go for a fully adjustable coil over kit. Or just replace the knackered standard set up. Common problems include sagging rear springs, leaking shock absorbers, rusty rear spring seats(VW part no. 191512113) and crumbling bump stops(VW part no. 191512131B). Front top mounts can wear - look for tears in the rubber and excessive play in the bearings (a little play is normal). Some people choose to fit the harder G60 top mounts(VW part no. 357412329). Don't forget - if lowering the suspension you will need to cut down the bump stops too.
Front
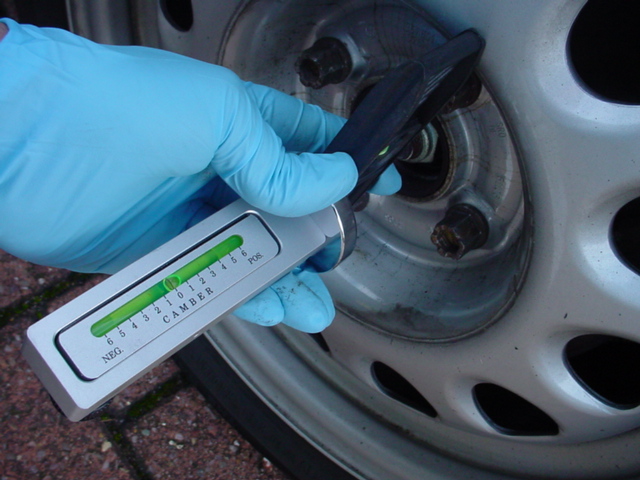
Step 1 - Park the car on level ground and measure camber (when looking from the front or back of the wheel, how much it leans in). Camber gauges can cost as little as £25, up to a few hundred.
Step 2 - Jack the car up, support on axle stands and remove the wheels.
Step 3 - Re measure the camber on the brake disc - use this figure when refitting the strut bolts to ensure getting the setting you start with.
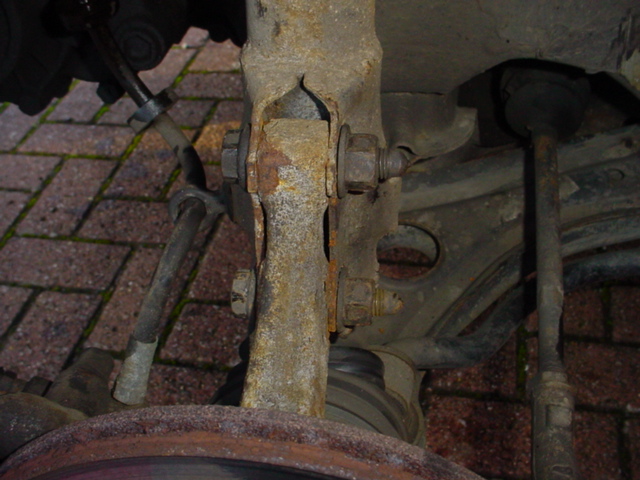
Step 4 - Prise off the rubber brake hose mount
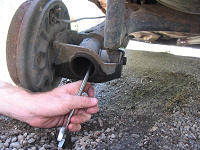
Step 5 - Undo the 2x19mm nuts and bolts which connect the shock absorber to the hub.
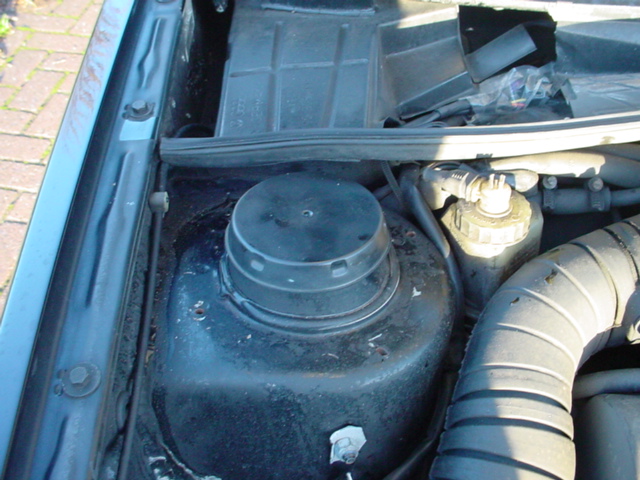
Step 6 - In the engine bay, pull off plastic strut covers
Step 8 - Remove strut from car.
Step 9 - Use a spring compressor tool and CAREFULLY tighten up until the spring is just off its seats.

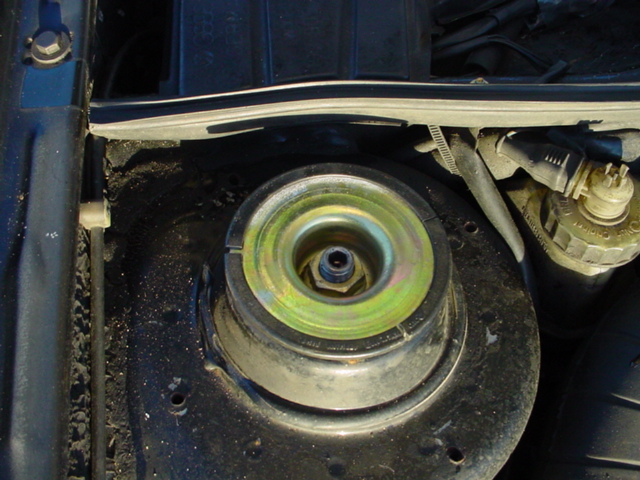
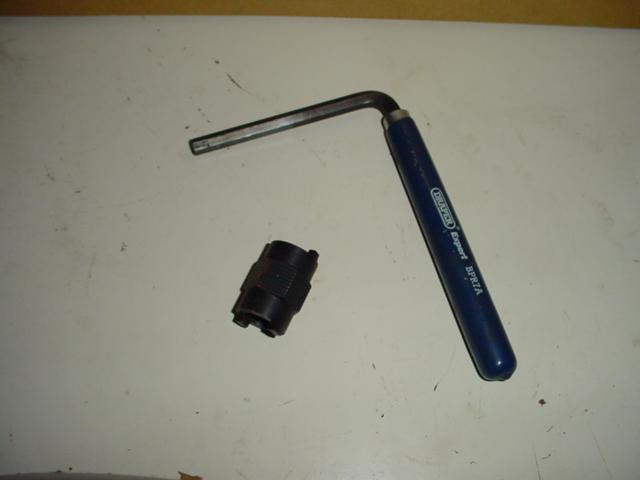
Step 10 - You will need a special tool (around £15 from a motor spares shop) and a 7mm allen key to undo the top nut.
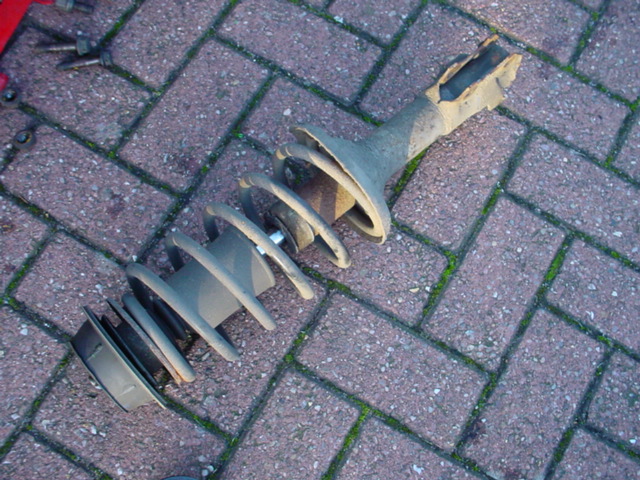
Step 11 - Remove top mount, bumpstop, spring etc, remember the order it fits together.
Step 12 - If changing springs carefully undo the spring compressors - there's a lot of energy in a compressed spring!
Step 13 - Reassemble all the parts on the new strut, fit spring (some lowered springs don't need to be compressed) and top mount.
Step 14 - Use the special tool to do up the top nut.
Step 15 - Refit strut to car, fit metal plate and tighten top nut.
Step 16 - Fit 19mm lower bolts but leave them loose
Step 17 - Put your camber gauge on the face of the disc, set camber to previous setting and tighten bolts
Step 18 - Fit brake hose.
Step 19 - Put the wheels back on, give it a quick road test to settle the suspension and re check the camber setting.
Step 20 - Get the tracking adjusted.
Step 21 - Admire your handywork!

Step 1 - Jack the car up, support on axle stands and remove wheels. Don't place the axle stands on the rear axle, it needs to hang down.
Step 2 - Under the car, remove 17mm nut/bolt. This is usually rusty and very tight, use wd40 or similar. Support axle if removing both sides at same time.
Step 3 - In the boot, may be easier if you remove the parcel shelf support.
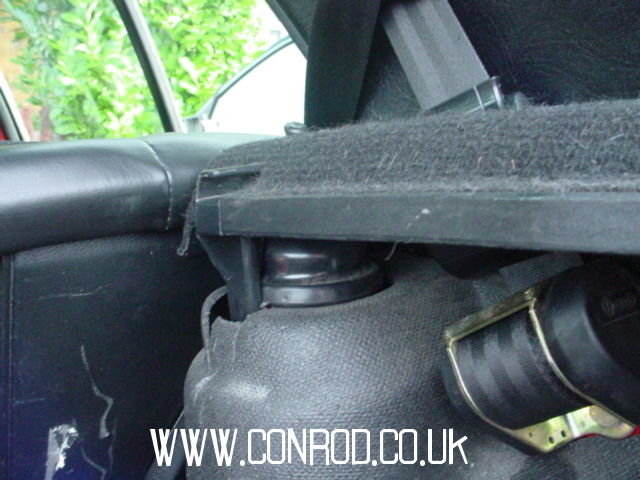
Step 4 - Pull off rubber cover.
Step 5 - Undo 17mm nut and remove metal plate.
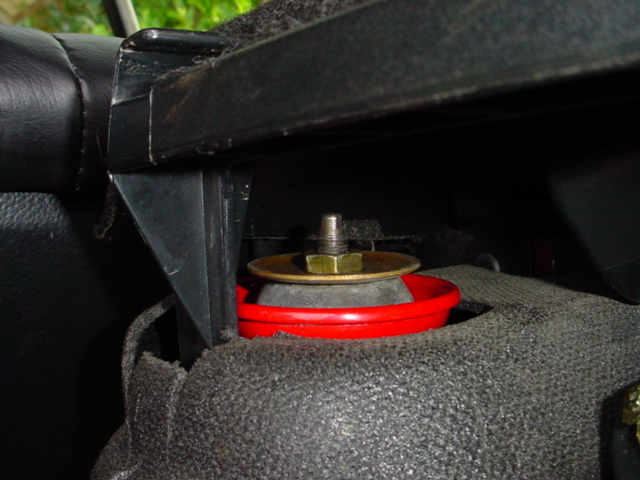
Step 6 - Then undo the other 17mm nut under the first one and remove strut from car.
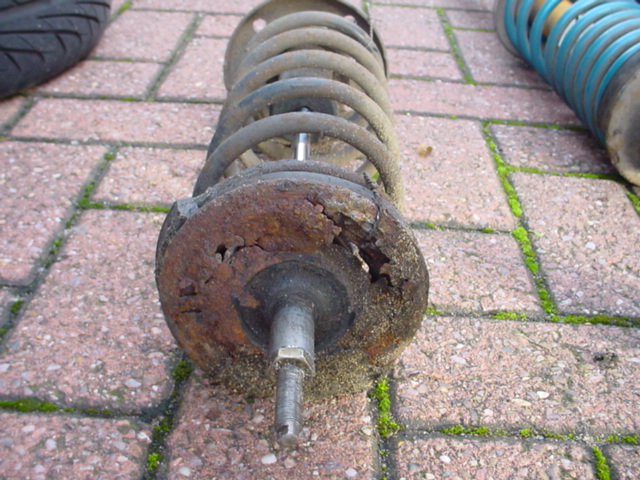
Step 7 - A common problem on the rear, top spring mounts rust & bump stops fall apart, worth ordering new ones.
Step 8 - Spring compressors not required on the rear, just remember the order parts go back on.
Step 9 - Undo the top nut and disassemble the strut.
Step 10 - Reassemble your new shocks / springs with new bump stops and top mounts if needed.
Step 11 - Refit to car, put the wheels back on and take it for a road test.