Upgrading your brakes
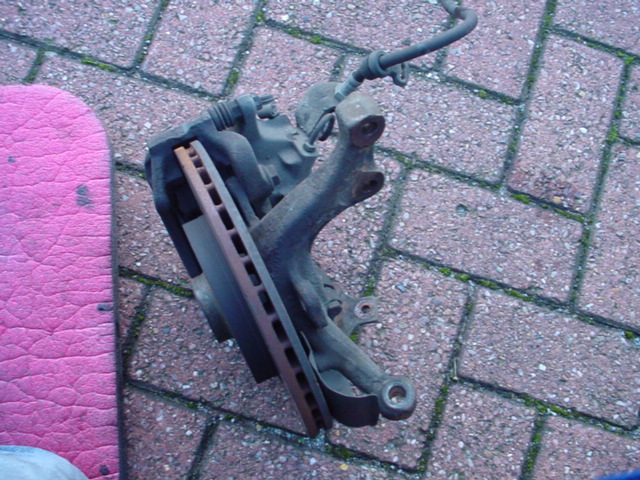
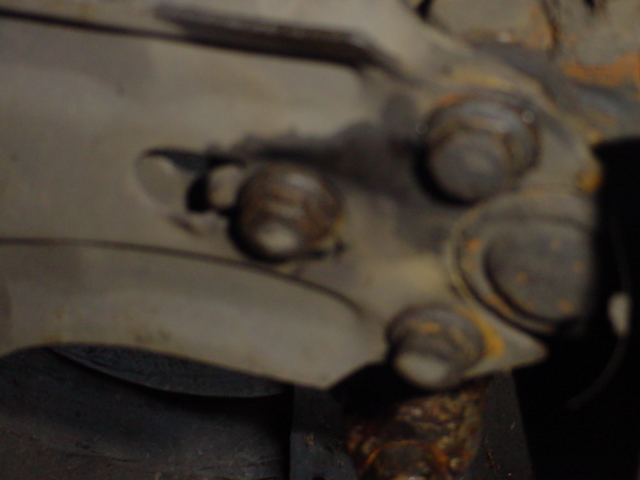
The first step to getting better brakes is to upgrade the discs and pads on your car. There are hundreds of different types, drilled, grooved, hard and soft pad material so its worth checking the forums for recommendations. If you want more braking power the next step is to fit big brakes. The picture below shows a fully assembled hub.
Why fit bigger brakes? Without getting technical its about getting rid off and coping with heat. Small diameter, thin brakes heat up and fade more than big ones. The The standard 8v Mk2 Golf Gti is fitted with 239mm vented discs on the front. Later 16v versions have 256mm and the G60 supercharged version has 280mm brakes. Most people upgrade to the readily available 256mm set up, its easy to convert this to 280mm at a later date.
If converting 239 to 256 you will need the complete front hubs from the donor car, including calipers and carriers as the hubs are quite different. If buying 2nd hand look closely at the discs / pads, hoses, bottom ball joints and bearings to see if they can be used again. If in doubt fit new items.
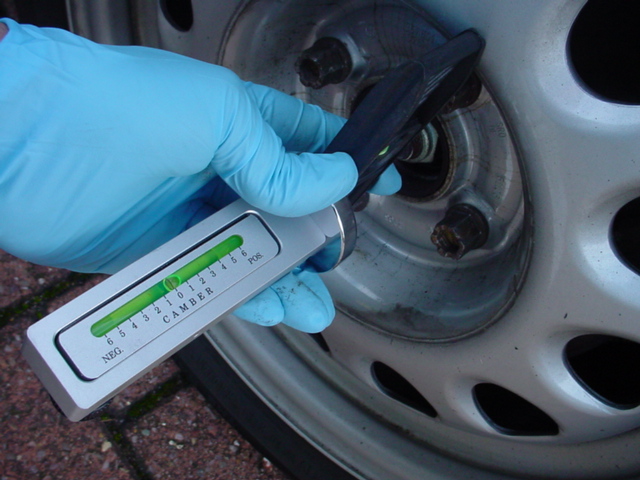
The first step is to park your car on LEVEL ground and measure the wheel camber (when looking from the front or back of the wheel, how much it leans in). Camber gauges can cost as little as £25, up to a few hundred. Poncey blue gloves optional.
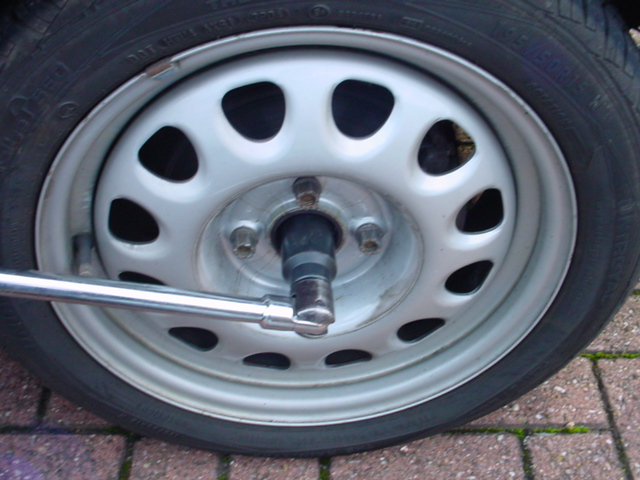
The next step, before you jack the car up, is to crack off the hub nut with a 30mm socket and breaker bar. This nut is very tight and needs to be torqued up to 265Nm.
Now follow the Haynes manual regarding jacking the car up, I won't bother with all the safety stuff here. Now, with the car jacked up and wheels removed put your camber gauge flat on the face of the disc and record it. When you re-assemble the hubs set the camber to the same figure to guarantee ending up with the same setting you started with.
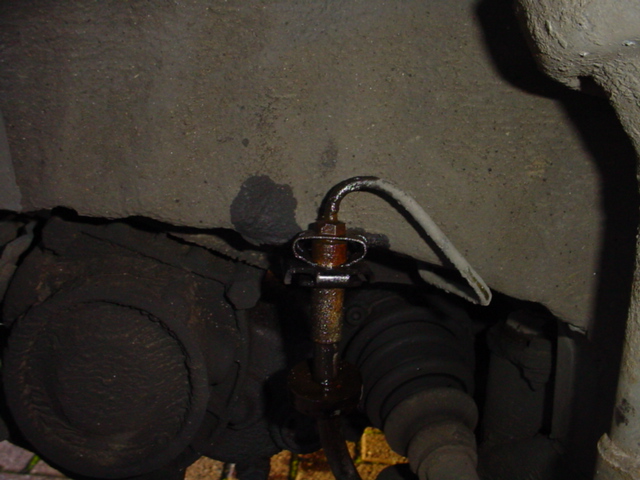
The next step is to undo the brake hose (use plenty of WD40 and don't round the nuts off!)
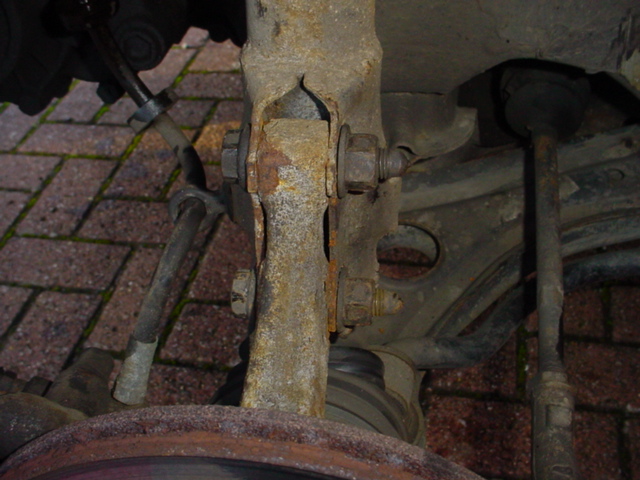
Then the bottom ball joint, its easier to remove the three 13mm bolts on the wishbone than split the ball joint from the hub.
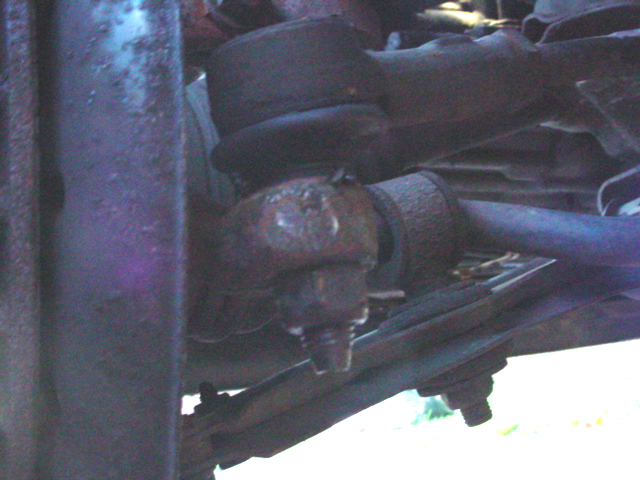
Next is the track rod end, a hammer and bj splitter will probably be needed but try not to damage the rubber boot.
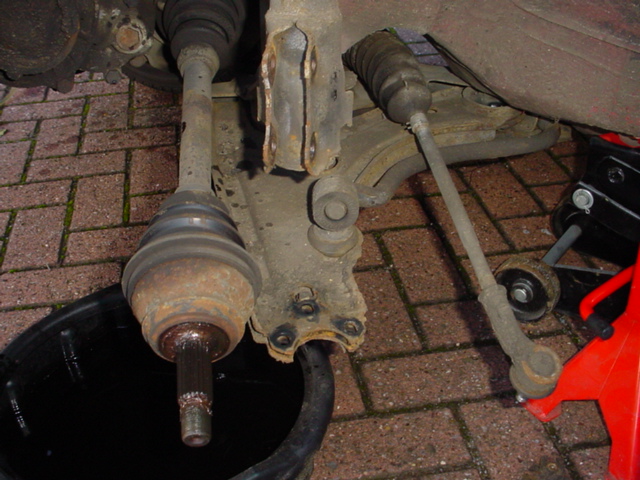
And lastly the two 19mm strut bolts, you will notice the holes in the strut are larger than the bolts allowing some movement. This is how the camber is set.
This is whats left, ready for new shiny bits!
Before you fit the new hubs check the bottom ball joints are the right size, early cars had smaller diameter ones. Also make sure the CV joint on the driveshaft hasn't come off (the joint will be floppy on the end of the shaft if this is the case). Some people choose to fit the larger 22mm master cylinder from the donor car which gives a slightly firmer pedal but isn't essential.
As the good book says, refitting is the reverse sequence to removal. Leave the strut bolts till last, with them loose and camber gauge on the disc, adjust the hub in/out to set the camber to your previous setting. Fully tighten and double check everything, bleed the brakes. With the car back on the ground torque up the front hub nuts, drive it round the block to settle the suspension and check the brakes work. Then check the camber setting on the wheel (should be around 0.5° to 1.5° negative). Re adjust the camber if necessary. When you are happy with it get the tracking adjusted and you're all finished.
If you choose to upgrade to 280mm brakes you will the larger caliper carriers which space the caliper further away from the wheel centre (the calipers are the same) and some bigger discs.